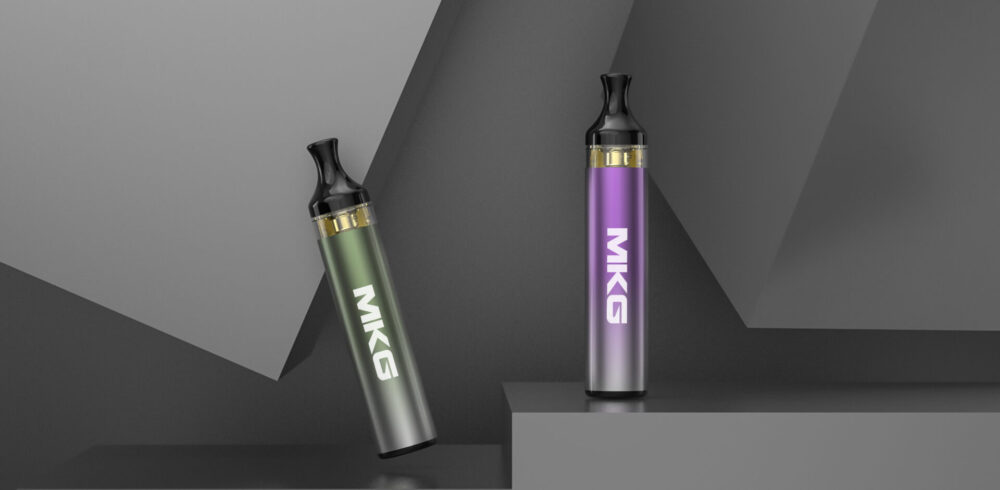
In recent times, most people have sought convenience for their vaping routine, and that’s the reason refillable pod vapes have become highly popular among vapers. These refill vape pods offer convenience and cost-effectiveness.
But you have to make sure that your refillable vape pod is clean to ensure its longevity. Cleaning and maintaining your refillable vape pod is necessary in order to maintain its flavor quality.
If you are new in the world of vaping and do not know why it is important to clean and maintain your refillable vape pods and what steps you have to take while cleaning your vape pods, read this article, as we have mentioned all the details that you must know.
Why Cleaning and Maintaining Your Refillable Vape Pods is Important?
Cleaning the refillable pod vape is important for several reasons. First, it helps to maintain the flavor quality of your e-liquid. Over time, e-liquid residue can build up in the pod, affecting the flavor and overall vaping experience. Cleaning the pod regularly can prevent this buildup and ensure that you continue to enjoy the flavor of your e-liquid.
Second, cleaning the coil or pod head can help to prolong its lifespan. The coil or pod head is responsible for heating up and vaporizing the e-liquid, and if it becomes clogged with residue, it can affect the performance of the device. By cleaning the coil or pod head, you can ensure that it functions properly and lasts longer.
Steps to Keep Your Refillable Vape Pods Clean
Step 1: Disassemble the Vape Pod
The first step is to disassemble the vape pod carefully. Start by removing the mouthpiece and emptying any remaining e-liquid in the pod. Then, remove the coil or pod head from the device.
Step 2: Clean the Pod
After disassembling the vape pod, clean it with warm water. Use a soft-bristled brush to clean the inside of the pod and remove any excess residue. Avoid using soap or any chemical cleaners as they can leave a residue that can affect the flavor of the e-liquid.
Step 3: Clean the Coil
The coil or pod head is the part that heats up and vaporizes the e-liquid, so it is essential to keep it clean. To clean the coil, rinse it under warm water and use a brush to remove any excess residue. Alternatively, you can soak the coil in warm water for about 30 minutes to remove any buildup.
Step 4: Dry the Pod and Coil
After cleaning, allow the pod and coil to dry completely before reassembling them. You can leave them to air dry for a few hours or use a clean cloth to dry them manually.
Step 5: Reassemble the Vape Pod
Once the pod and coil are dry, reassemble them and refill the pod with your favorite e-liquid. Make sure to prime the coil by adding a few drops of e-liquid onto the coil before using it to avoid any dry hits.
Step 6: Maintain Your Vape Pod
Regularly cleaning your refillable vape pod can extend its lifespan and maintain the quality of its flavor. We recommend cleaning your vape pod at least once a week or more frequently if you use it heavily. Additionally, you can replace the coil or pod head every two to three weeks to ensure optimal flavor and vapor production.
Step 7: Avoid Overfilling
It is essential to avoid overfilling your refillable pod vape as it can cause leaks and affect the performance of the device. Fill the pod to the recommended level and avoid filling it past the fill line.
Step 8: Store Properly
When not in use, store your refillable vape pod in a cool and dry place. Avoid exposing it to direct sunlight or extreme temperatures, as it can affect the quality of the e-liquid and the device’s performance.
Conclusion
Cleaning and maintaining your refillable vape pod is crucial for the longevity of the device and the quality of its flavor. Following these simple steps can help keep your vape pod clean and functioning correctly. Remember to clean your vape pod regularly and replace the coil or pod head every few weeks to ensure the best vaping experience. Happy vaping!


