DIY Your Dome Tent!
Have you ever thought about what it might be like to camp in dome tents with your loved ones? It’s going to be a terrific, exciting, adventurous time. It’s better to practice setting up your tent at home than to figure it out in the middle of the night in the wilderness.
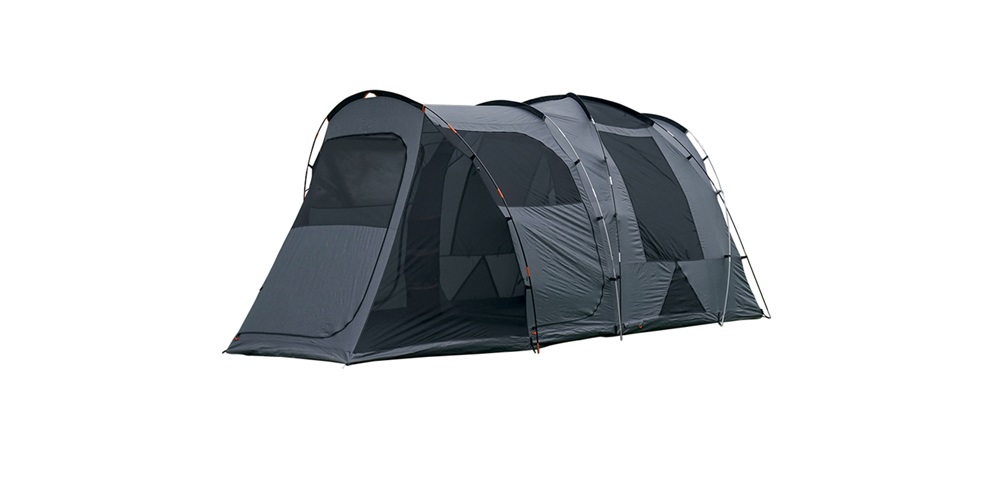
As luck would have it, dome tents are currently the simplest tents to assemble. A dome tent is a perfect way to camp in luxury and ease. By following this simple guide, you can have your very own bubble tent in no time!
Spread Out the Tarp
Roll the tarp into a tent shape. If rain is possible, no sharp edges should be exposed. You may tuck them under after setting the tent.
Campers use plastic or vinyl tarps inside tents to reduce humidity. Moreover, a camping tarp can minimize moisture at the tent’s feet, but it’s not essential.
**Organize the Tent’s Components **
Check the tent’s pieces to ensure you have everything and that it’s working. Size, design, and the manufacturer will cause slight differences amongst dome tents, but the basics should be standard.
The tent’s body should be vinyl or plastic and include a zippered entrance and flaps for tent poles. The fly looks like a tent but lacks pole openings and zippers.
Tent poles are usually linked by bungee cords or other elastic to keep them in alignment. There will be at least two and up to five or six poles, each several feet long.
Connect the Poles
Tent poles should be 6-10 feet long when snapped, attached, or screwed together. Most contemporary tents have bungee connections that make setup easy.
Insert Poles Through the Flaps
Lay the tent over the tarp and cross the poles, where they’ll go. Two long poles cross in the center and exit the tent at opposing corners. Once you’re sure of the flaps’ alignment, push the pole through them.
Use your best judgment or the instructions to identify which tent poles go where. This is the hardest part of building up a tent without instructions, but if you hold it up, you can see where the poles and other parts go.
Insert the tent poles’ tips into the four corner eyelets. With a companion, you can bend each pole in tandem while holding the construction erect.
Once the poles are in place, fluff and pull them out slightly to let everything settle, each dome tent is different.
Stand the Tent
Each tent corner and side should have vinyl hoops or eyelets to hold it to the ground. Put the tent stake in the hole.
If you’re in a protected area with no wind, you can sleep in the tent without staking it.
Assemble the Tent
You may not utilize the tent’s rain fly if you don’t expect rain. If a rain fly tarp blocks your tent’s windows, consider camping without it.
Once the tent is erected, fold the tarp’s corners under it. And ensure no water stand behind the tarp if it rains.
Bottom Line
With this easy DIY, it doesn’t matter how much money you have set aside for a tent. You can quickly build your own dome tent that is both simple and inexpensive to set up.